7,50€
DeliveryMon, 05 Aug - Wed, 07 Aug
+14,00 €shipping cost - sent from Greece
Skroutz Buyers Protection
Set the delivery location to see products according to your choice.


 AustriaEnglish
 BelgiumEnglish
 BulgariaБългарски
 CroatiaEnglish
 CyprusΕλληνικά
 CzechiaEnglish
 EstoniaEnglish
 FinlandEnglish
 FranceEnglish
 GermanyDeutsch
 GreeceΕλληνικά
 HungaryEnglish
 IrelandEnglish
 ItalyEnglish
 LatviaEnglish
 LithuaniaEnglish
 LuxembourgEnglish
 MaltaEnglish
 NetherlandsEnglish
 PolandEnglish
 PortugalEnglish
 RomaniaRomână
 SlovakiaEnglish
 SloveniaEnglish
 SpainEnglish
 SwedenEnglish
© 20[0-9]{2} Skroutz SA All Rights and Lefts reserved. FAQ | Terms of use | Privacy Policy | Cookie Policy


Skroutz Buyers Protection


Car Repair Accessories


Car Repair Accessories


Car Repair Accessories


Car Repair Accessories


Prices are calculated for:Luxembourg, Other Payment Options
The package includes:
Specifications are collected from official manufacturer websites. Please verify the specifications before proceeding with your final purchase. If you notice any problem you can report it here.
Very good guys, I was satisfied with the product, if you follow the instructions faithfully. I used it a month ago and the flashlight still hasn't shown any signs of wear. If it lasts me a year without getting dim, it will be worth the money and more.
I was not thrilled with the result, the lights got better but not the perfect results we see from professionals, as expected. The electric screwdriver or drill did not work for me, I ended up doing it by hand. Also, do not use too much material from the varnish it provides, as I thought I had to use the whole packet (it is the final stage). It is also very important to bake them well in the sun and choose a day without humidity to do this job.
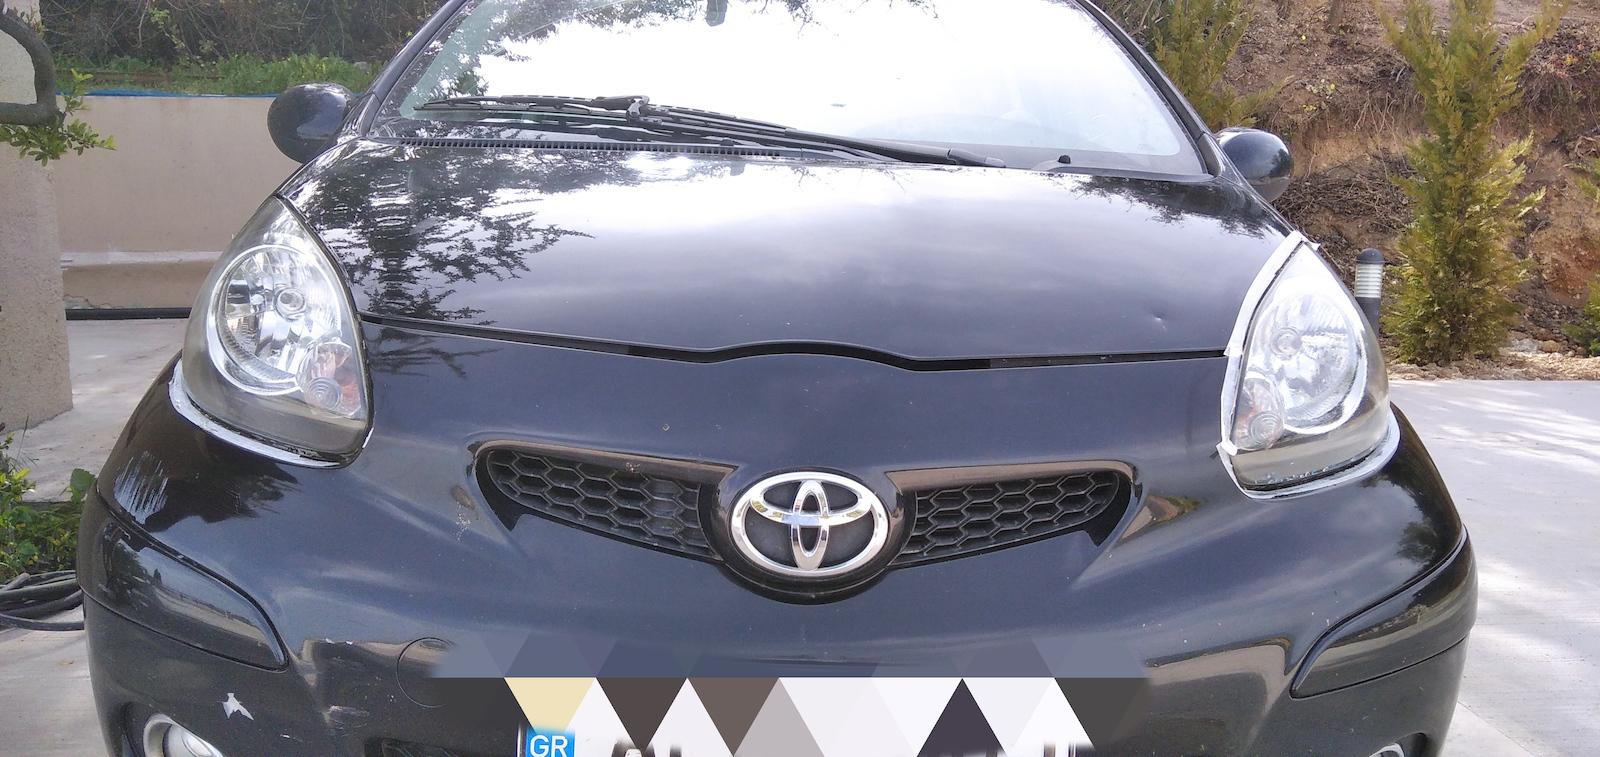
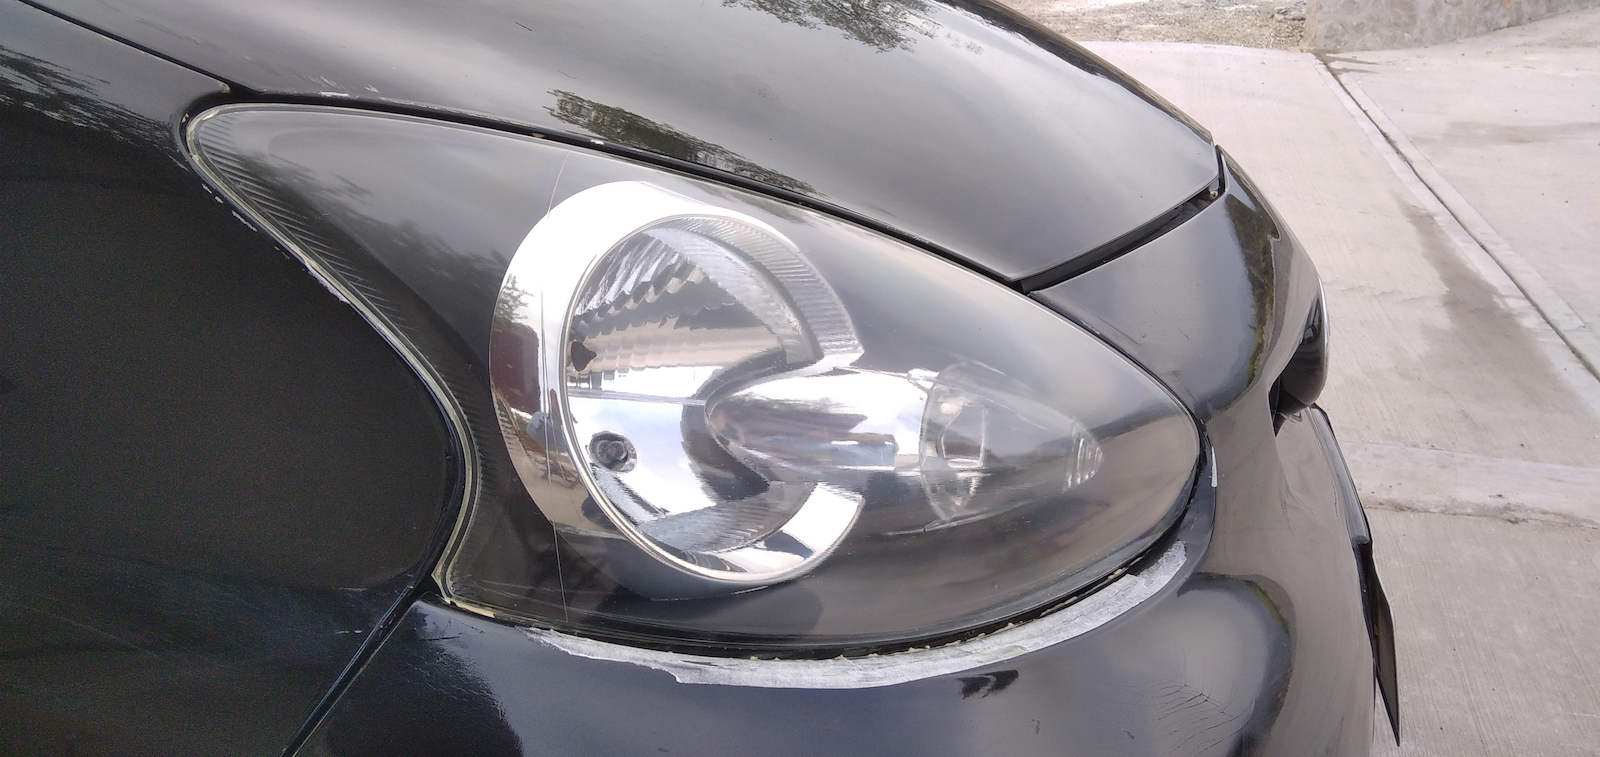
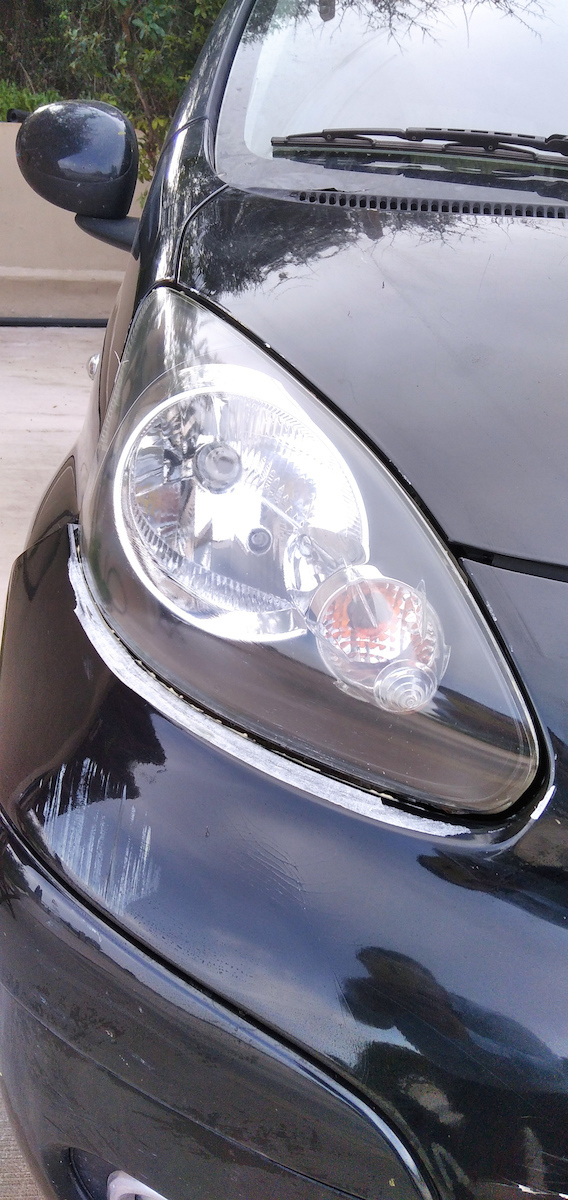
Today I applied it and here is the result (see photo)!!! I didn't expect to see such a big difference in the brightness of the headlight!!! Easy process even for beginners. The only thing you will need for better results and less effort is a drill. I highly recommend it!
I will provide you with detailed instructions because the ones in the box are in English for those who don't understand.
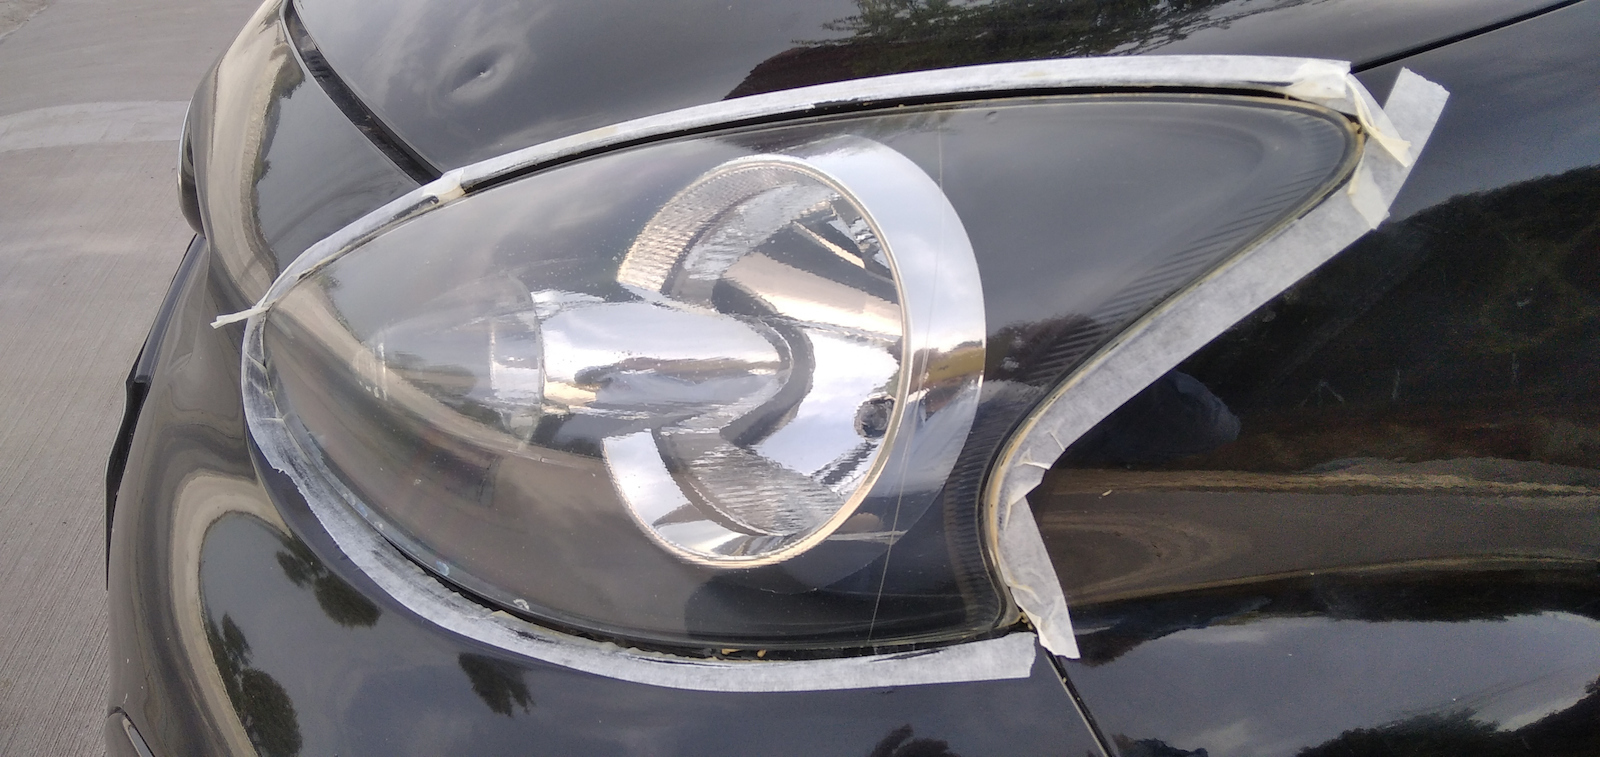
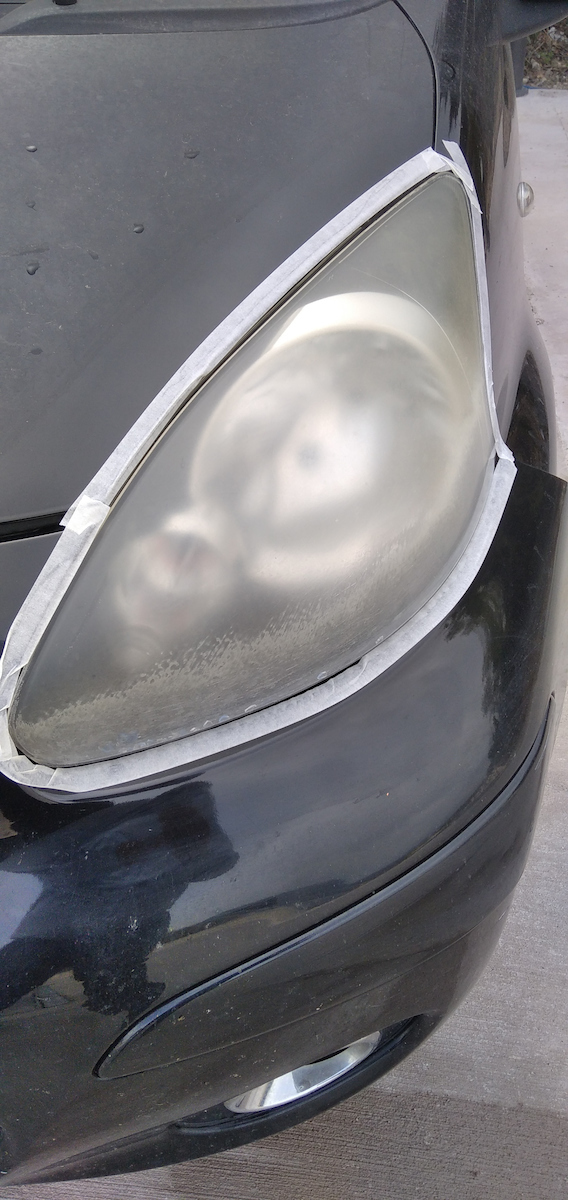
INSTRUCTIONS STEP 1: APPLY TAPE AROUND EACH HEADLIGHT (included), wet the sandpaper (included) and start rubbing starting from the coarsest one, which is P800. Wipe with a damp microfiber cloth and continue with the same process for the other two numbers, which are P1200 and P2000. Finally, rinse and dry with paper towels.
STEP 2: Apply the paste (with the orange sponge included) on the entire headlight and leave it for 15-20 minutes. Then attach the adapter to the tool you have and slowly rub the paste until the headlight starts to clear up (not exceeding 200 rotations per minute). When the paste is gone and the headlight is clear, rinse it again with a clean microfiber cloth and dry it with kitchen paper towels.
STEP 3: Take a clean microfiber cloth or a new sponge (the one included is too small and not convenient) and apply the varnish with even strokes to cover the entire headlight. Be careful! Don't "dab" it, but spread it evenly, otherwise it will create bubbles and we won't achieve the desired result. Finally, leave it for 1-2 hours (depending on the humidity of the environment) and then take the car out in the sun to let the varnish harden. CAUTION! WASH THE CAR AFTER 24 HOURS OF APPLICATION!
Verified purchase
low price, plenty of components, and satisfactory result
Verified purchase