

How to decorate the Christmas tree - Practical tips
The most beautiful celebration of the year is approaching and you don't know how to decorate the Christmas tree? Don't worry at all! Lady Christmas (aka me) will teach you how to decorate it. Christmas is my favorite celebration of the year. I start decorating from November 1st and I don't take down a single ornament until I hear the first swallows building nests on the balcony. You could say that I'm a master in Christmas decoration, as my house looks like Santa's village... or even like a country house. If you also want to learn how to decorate the Christmas tree correctly, to the point where Mariah Carey would envy it, keep reading.
Step by step: How to decorate the Christmas tree
We start with the basics. Have you found a tree? Do you have ornaments? Lights, skirt, nativity scene, star? You have a quite long list of things you will need to get, just for the tree. The magic of Christmas requires a little personal effort, but the result will reward you. So, let's see step by step what you will need and how to decorate the Christmas tree.
Choosing the perfect Christmas tree
The first step on the list is choosing the perfect Christmas tree. The type of Christmas tree you will prefer depends on the available space in your house and the style you prefer. For small spaces, I recommend Christmas trees of 150cm or 180cm. If you have plenty of free space in your house, go big and get a Christmas tree of 210cm to 240cm. For tiny spaces, I suggest a sprig of parsley. Just kidding, of course. There are solutions even for very small spaces, and you won't even have to deal with decorating the tree. There are very small Christmas trees with optical fibers and LED lighting available in the market.
The style can be whatever you like. Classic, Slim, Wall-mounted, Umbrella, or even Upside-down. Additionally, you can choose whether it will be without ornaments, snow-covered, illuminated, with a pot, with a wooden trunk, with ornaments, or with pine cones.
I forgot to mention the colors. If you want something more unique and special, leave behind the conventional green Christmas trees and go wild with a pink, black, white, silver, gold, red, or blue one. Got it? Let's move on.
-
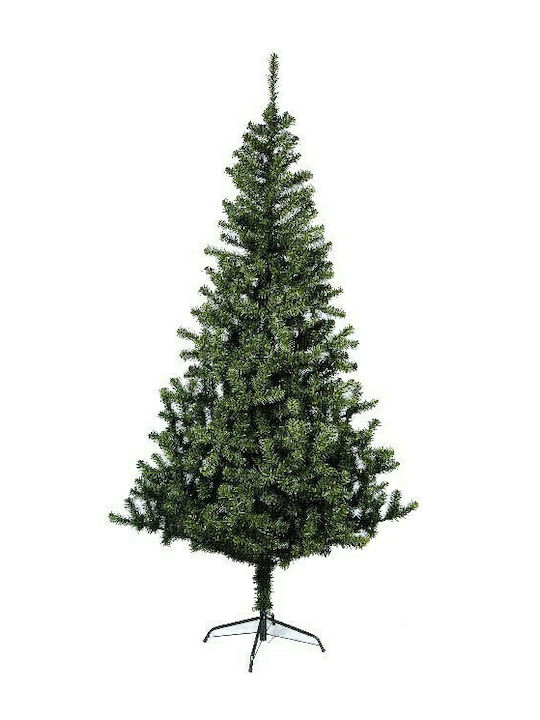
Colorado Christmas Green Tree with Metallic Base H180cm 93-534
from 29,80 € -
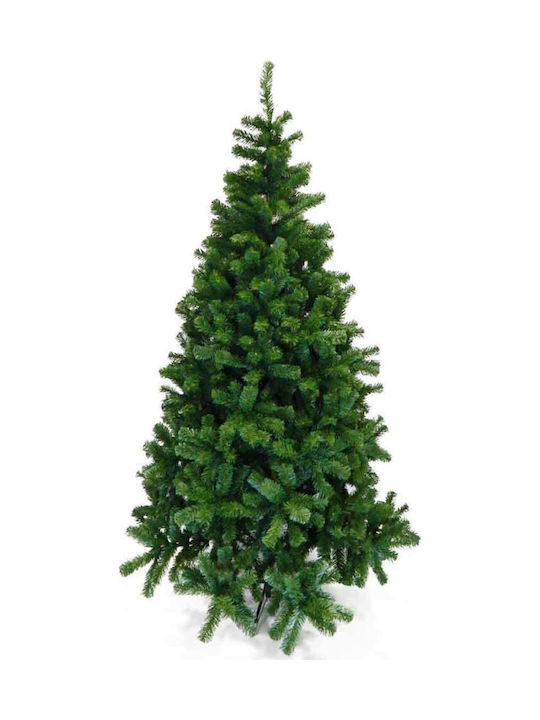
Νορμανδίας Christmas Green Tree with Metallic Base and Built in Branches H180cm
from 44,99 €


Opening Christmas Tree Branches
After you have found the perfect Christmas tree and placed your order through Skroutz, it's time for it to be delivered to your home. Once you receive it and thank the kind delivery person who went through the trouble of carrying it to the 3rd floor, you should open it. If you got a Christmas tree with detachable branches, you should first place the trunk in the base and then one by one attach the branches to the trunk.
Once you complete the process, take each branch and gently open it outward with a slight inward tilt, so it doesn't look like you plugged in a branch. Finally, place the tree topper and voilà, the tree is ready.
Placing and Choosing a Spot for the Christmas Tree
When placing the tree in the right spot, make sure the base is stable and doesn't slide on the floor. To achieve this, you can place a rug underneath or use non-slip stickers.
The location where you will place it plays a significant role in allowing everyone to admire it and not disrupt the functionality of your space. Find a spot in the living room (preferably in front of a window to showcase your decorating talent to the neighborhood) that doesn't obstruct the passage and has enough space for the branches to spread out.
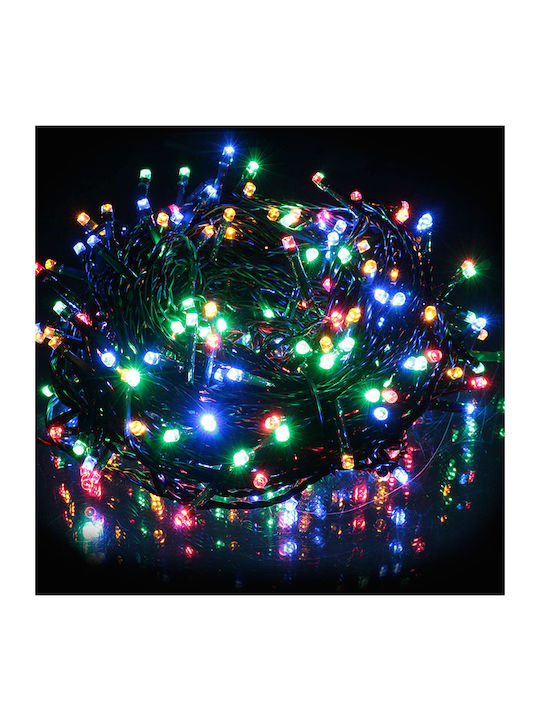
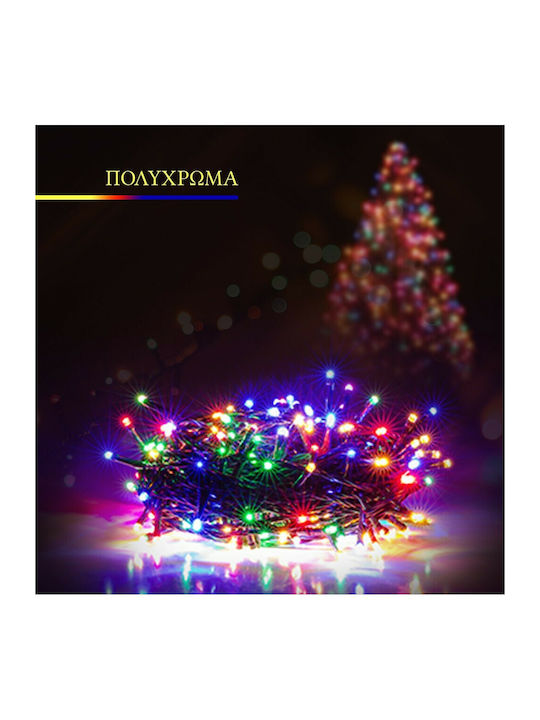
Christmas Tree Lighting
The most beautiful thing about Christmas trees is their lighting, i.e., the lights. The worst part is that when you unwrap them in the following years, your own lights might not work, so be careful to wrap them nicely when taking them down. You will need quite a few lights to fill the entire tree and provide sufficient illumination, so don't skimp on them, get extras if needed.
We start from the top and wrap the lights around the entire tree, making sure the lights touch each branch to create a uniform illumination for the ornaments. To make them less visible, try to hide them within the branches. If you want, you can also create a zigzag pattern with the lights on the branches. Another option is to place them vertically from top to bottom in succession.
Extra tip: Before you start placing the lights, test them in an outlet to see if they all light up, so you don't have to go through the trouble of taking them down if some are burnt out.
Most Christmas trees on Skroutz indicate in the description how many lights are needed to fill them.
-
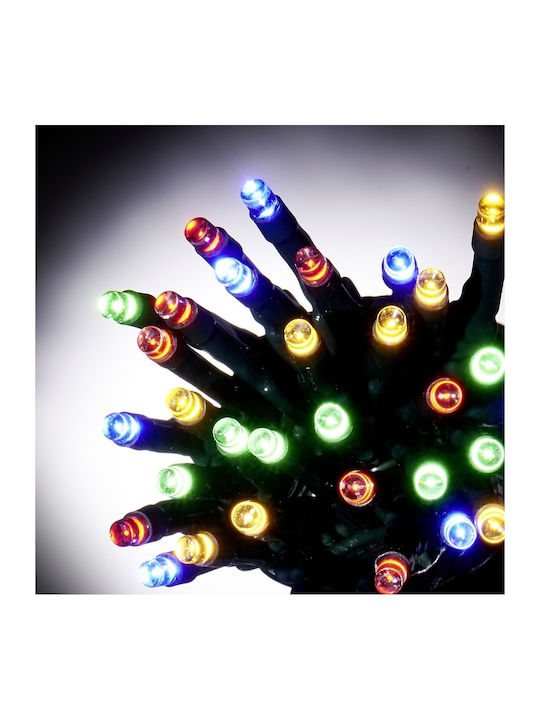
Programmable Christmas LED Light Multicolour 23m TnS
from 7,20 € -
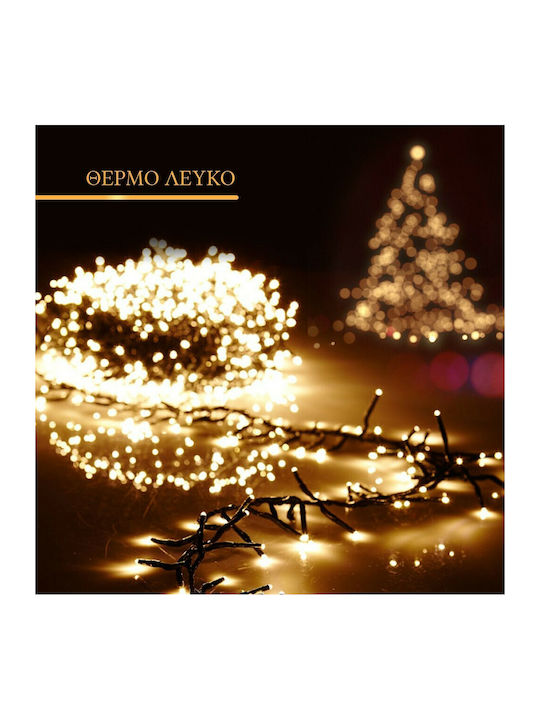
1412 Programmable Christmas LED Light Warm White 22m
from 6,90 € -
93-1002 Programmable Christmas LED Light Multicolour 8m XMASfest
from 3,90 € -
1412 Programmable Christmas LED Light Multicolour 16m
from 6,19 €


Christmas Balls and Ornaments
You can choose whatever color Christmas balls and ornaments you like. You can combine 2 or even 3 colors together or choose them all to be the same color. The designs can be anything you imagine, from classic balls to figures, nutcrackers, birds, bells, or wooden decorations. The sizes can be different and you can place them mixed on the tree to give more volume or you can put the smaller ones at the top and end with the larger ones at the bottom.
If you want, you can fill it up and cover as many gaps as you want with multiple balls on each branch or you can make it more minimal and put one ball on each branch. Remember to leave some space for the ribbon and bows if you plan to add them.
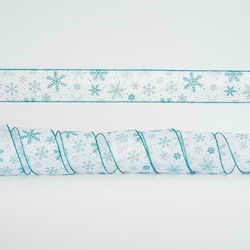
Ribbons and Bows
You can cover the gaps in the tree with a beautiful wide ribbon wrapped around the tree or with large and small bows. You can also combine different colors and patterns of ribbons for a more imaginative result. You can try adding thin ribbons from top to bottom for an extra touch.
-
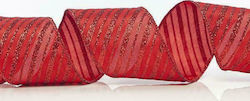
Eurolamp Christmas Κορδέλα Red 910cm 1pc
from 9,59 € -

Eurolamp Christmas Ribbon Beige 91x6.35cm 1pc
from 9,59 € -
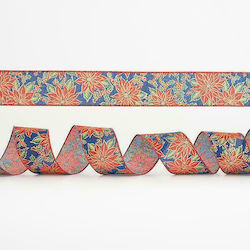
Eurolamp Christmas Ribbon Blue 91x6.35cm 1pc
from 9,59 € -
Eurolamp Christmas Ribbon White 91x6.35cm 1pc
from 9,23 €


Apron for Christmas Tree
If the tree you have chosen has a metallic base, you may want to cover it with an apron to make it look more authentic. You can choose an apron in the colors of the rest of the tree or one made of synthetic material like snow.
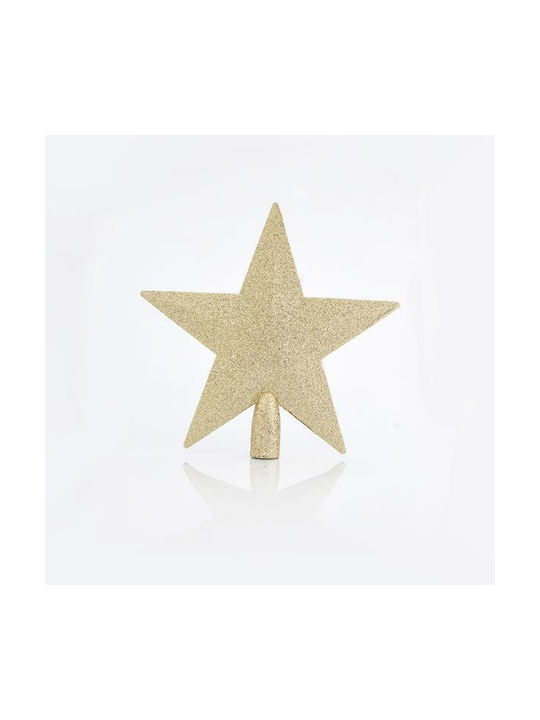
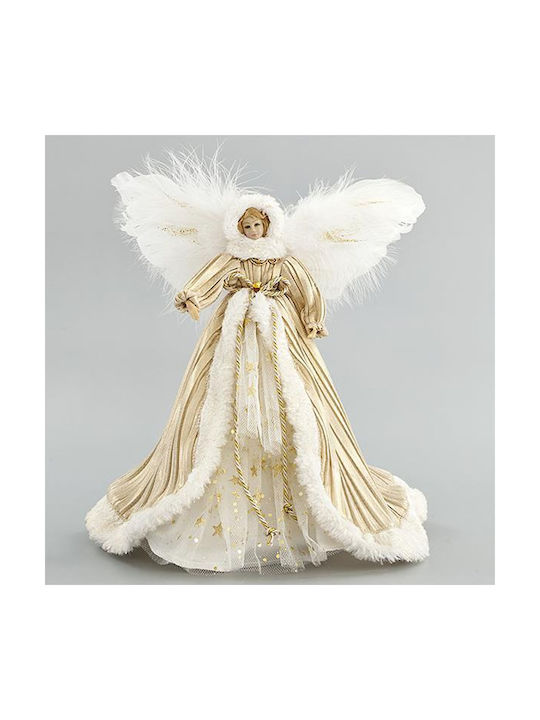
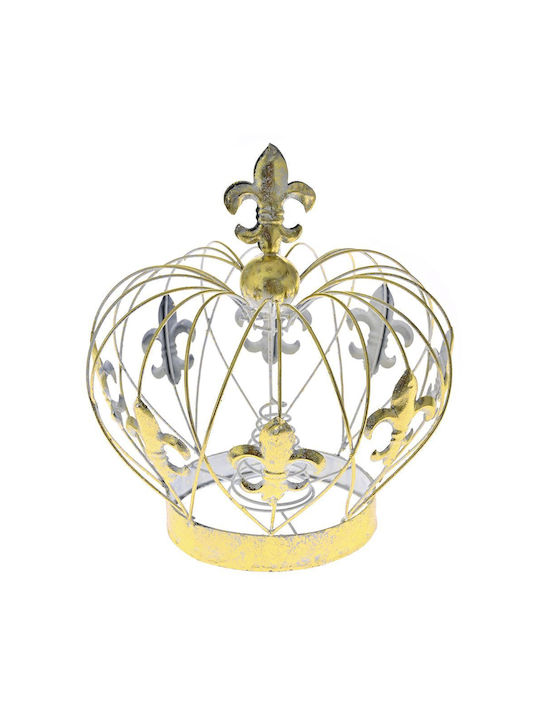
Tree Topper - Star
You have completed the whole process and it's time to add the final touch to the decoration of the Christmas tree, which is a tree topper. The last ornament always goes on top and it can be a star, an angel, or whatever you want. Close your eyes, make a wish, and place it in position.
Merry Christmas!
-
Eurolamp Christmas Plastic Christmas Tree Topper Ornament Gold 20.7x63cm
from 3,90 € -

Eurolamp Christmas Plastic Christmas Tree Topper Ornament Red 6x20cm
from 4,00 € -
Eurolamp Christmas Christmas Tree Topper Ornament Gold 31cm
from 20,33 € -
Iliadis Christmas Metallic Christmas Tree Topper Ornament Gold 24x24cm
from 19,00 €


 Technology
 Home & Garden
 Fashion
 Sports & Outdoors
 Health - Beauty
 Baby & Kid
 Auto - Moto
 Business - B2B
 Books
Books
Be the first to leave a comment!