How to Contour: Beginner's Guide
What is contouring
Contouring is an extremely popular makeup technique, where you create shadows to enhance your facial features. Using darker shades, you can cover imperfections or minimize an area, while using lighter shades can enlarge or highlight certain areas of your face. The goal is to create shadows where there is volume, in order to achieve a thinner and more symmetrical face shape.
What you will need
- A Make up in the correct shade, matching your skin tone, preferably in liquid form.
- A concealer, in a lighter shade than your skin tone.
- A contouring product with at least 2 shades, one dark and one lighter. This can be either a contouring stick with 2 sides, which is more user-friendly, or a palette, which usually has many more shades. It will be very useful once you get familiar with it.
- A highlighter, either in powder form or liquid form.
- A transparent powder for finishing.
- Blending sponge or brushes for application.
How to contour
Okay, it may seem a bit difficult at first, but with the right tools and practice, you can do it even if you're not a makeup artist or beauty expert. The secret is to blend the products correctly, so that the result looks natural and uniform.
The steps
1. It is very important for your face to be clean. Start with a base for makeup, your moisturizer or both. Allow a few minutes for it to absorb well, as moisture on the skin can create oiliness. Ideally, the area around your eyes should be well moisturized with eye cream or eye primer.
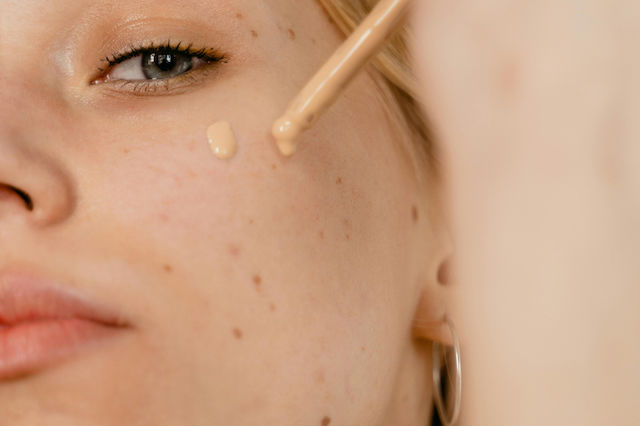
2. Apply foundation all over your face and neck, to avoid any discoloration. The sponge is very helpful for a uniform application. Alternatively, you can use one of the makeup brushes that are available. There are now many different types to choose from that suit your needs.
3. Then, illuminate the eye area with a concealer, which covers any dark circles and makes the eyes look refreshed. The product should be lightweight and fluid enough so that it doesn't crease on the skin with facial expressions. The ideal shade is 2 or 3 tones lighter than the skin color. Create 2 inverted triangles under the eyes and blend gently with a sponge, almost patting it. It is a very sensitive area and should not be pressed or stretched too much.

4. And now the difficult part begins! But don't worry... it's only the first time. After a while, everything will become mechanical and very fast. In the simplest version of contouring, you need to focus on 4 - 5 points of your face and mark them with the dark shade of the product you have chosen. Then, it is easy to understand which points you will highlight with the lighter shade.
• With the dark shade, you will create intense lines on both sides of your face. On the cheeks and forehead contour, if you want to reduce the surface area. If you have a small forehead, you can simply skip this step or just apply a small amount in the center of the forehead near the hairline. Continue on the cheekbones under the cheekbone and on the jawline from the height of the ears to the chin. Be careful: apply below the jawline, blending towards the neck, to have a more natural look and of course to cover any chin protrusions. On the sides of the nose, apply only if you want to slim down that area. Ideally, the dark lines should be on the nose bone and vertically at the tip, leaving a small gap for the light shade. Use a sponge or brush to blend these lines as evenly as possible without removing all the product you have applied. Always dabbing motions and slightly upwards and outwards from the face surface.
• With the light shade, create similar lines on the nose bone where you left the gap, continue upwards in the center of the forehead, almost between the eyebrows. Light colors have the property of bringing forward and emphasizing the points we choose. For this reason, think if you will apply on the chin. If you have strong angles, it would be good to avoid it. Instead, put a little product on the 2 lines around the lip contour.
• Highlighters give a glossy effect that is not necessary, especially in everyday makeup. However, if you don't overdo it, your face will look more radiant and healthy. Prefer the areas high on the cheekbones, under the eyebrow arch, and on the nose.
5) Finish with a transparent powder all over the face and neck, which you will apply with a brush to seal the result.
Extra Tips
- Don't forget the blush on the cheeks for a livelier color. During the summer months, you can also use a bronzing instead of blush, for a more sun-kissed look.
- If you find it difficult, the easiest solution is to use a stick contouring product, which is easier to apply and more precise. However, you can do all of the above with powder products as well. If your skin is quite oily, opt for powder.
- The above contouring steps usually suit most face types. If you want to take it a step further, remember that depending on the face shape, you will need to shade different areas, always depending on what you want to cover. You can follow one of the following shapes:

Our suggestion
The only sure thing is that there are many contouring products on the market. Different materials, textures, shades, and tools. You can choose what suits you among branded, expensive, or more affordable products. Our suggestion, if you are still in the trial period, is to allocate a small budget for the start and later enrich your collection with more specialized products.
To begin with, you can try the following:
Make up: A very good foundation, with good coverage, non-greasy texture, and uniform result is the Maybelline Superstay 24H Full Coverage.
Concealer: The Maybelline Instant Age Rewind Eraser, the favorite product of beauty bloggers, is extremely lightweight in texture and spreads incredibly easily with the special sponge. It provides medium coverage and a bright and youthful look.
Contouring Stick: For easy application and combination of 2 shades in one product, try the Wet n Wild Megaglo Dual-ended.
Contouring Palette: For those who find powders more user-friendly, we recommend the Technic Colour Fix 2 Pressed Powder palette. Warm and cool shades, so you can choose the one that suits you.
Powder: The classic Max Factor powder that provides a matte finish and high coverage is the Creme Puff Powder Compact.
Highlighter: The Technic Shade Adjusting Drops illuminating drops are a very good choice because they can be combined with other cosmetic products. You can either mix a few drops with your cream or foundation, or apply directly to the areas you want to highlight. For easier application, there is also the option of powder highlighter, such as the Catrice Cosmetics 3D Glow.


Be the first to leave a comment!