
5 Ideas for Handmade Children's Costumes
Carnival is approaching and you are looking to find ways - affordable ones - to create the perfect costume for your child.
With minimal materials, we can create amazing disguises, from kings and queens, to ghosts and snails!
All you need is imagination...

Let's see below some "how to..." suggestions, to inspire you and choose the one that suits you best...
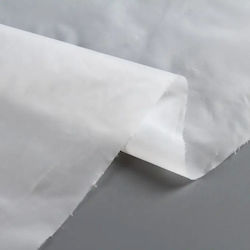
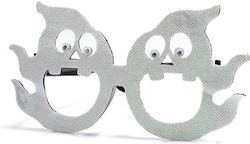
#1: Attention! Ghost!!!
Use white and/or transparent fabrics, such as sheets, and add details with markers or colors.

You will need:
- A white sheet or shirt (preferably old)
- Ribbons, fabric pieces, or other materials to add details and create a unique style.
- Markers or paints to create black eyes, for an extra dose of horror.
In practice:
- Take a piece of white fabric, cut the edges asymmetrically so that it is at the child's height.
- Shape the eyes with scissors and ideally draw the eyes on the fabric with a black marker to create depth.
- If you stick additional fabrics such as ribbons or fabrics like satin or lace, it will give more style to the overall look.
Cost:
- Approximately: 0 - 10 €
If you don't have the materials you need at home....I've got you covered!
-
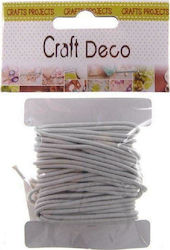
JGS S.A. Waterproof fabric for saddles (saddle cloth) White 160cm x 100cm
5,99 € -
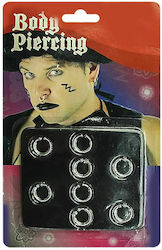
Plastic Carnival Accessory Horror
3,90 € -
Carnival Glasses (Μiscellaneous Designs) Ghost
from 2,49 € -
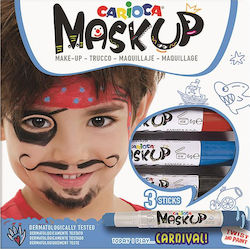
Carnival Face Painting Carioca Maskup Κοκκινο/Μπλε/Μαύρο 18gr Multicolor 3pcs
from 3,86 € -
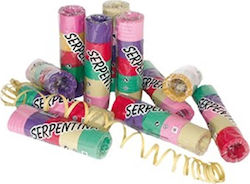
Serpentine Streamer Multicolour 20.5x5cm
from 0,49 € -
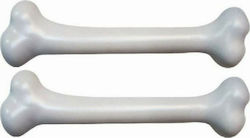
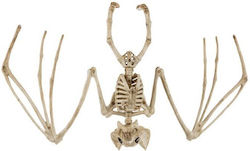
Κόκκαλα White Carnival Accessory Horror
from 2,07 €


#2: My shining star...
Here, cardboard is your main material. Colors and glitter are also mandatory.

You will need:
- Cardboard
- Scissors for cutting the cardboard
- Marker for drawing the star
- Elastic band
- Stapler
- Colors if you want to make additional designs (optional)
- Fabric in the same color if you want to use it as a cover for the body or as a fading star!
- Glue
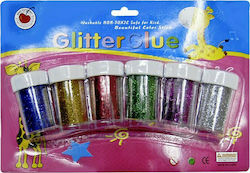
- Glitter
In practice:
- Take a piece of cardboard.
- Draw the star with the marker that you will cut later and the part that will go over the face.
- Cut the cardboard carefully along the lines you drew earlier.
- Using a stapler, attach an elastic band from one side to the other so that it can be secured to the child's head.
- Wrap the fabric around the shoulders to cover the body.
Cost:
- Approximately: 5 - 10 €
-

Knorr Prandell Foam Paper Glitter A4 Gold
0,81 € -
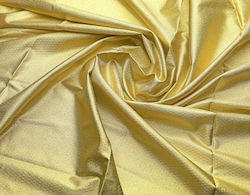
JK Home Decoration Decoration Fabric 100x500cm Χρυσό
from 17,82 € -
Next Craft Accessory
from 0,93 € -
Next Gold Glitter Gold Dust 300ml
3,80 € -
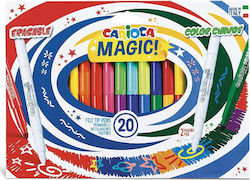
Carioca Magic Markers Magic Drawing Markers Thick Set 20 Colors 41369
from 4,85 € -
Scissors 13cm with Metallic Blade Black
0,50 € -
Deli 231.0 Hand Stapler with Staple Ability 12 Sheets
1,20 € -
Glazed Paper Yellow 50x70cm
0,23 €


#3. Where are you going, snail, swaying gracefully?

You will need:
- Long pants or dress in a matching color (green, yellow, black, etc.) for the body of the snail.
- Pieces of fabric, cloth, or a small blanket to create the snail's shell.
- Hood or hat in a matching color with the body.
- Cardboard or fabric to make the snail's horns.
- Foam or cardboard to create the eyes.
- Markers or paint to draw the features of the snail's face.
- Glue, scissors, and nails for constructing the costume.
- Decorative items for embellishing the costume, such as beads, pearls, ribbons, etc.
In practice:
- Wear the green/black dress or pants.
- Cut a large circle from the fabric or foam for the shell.
- Use glue to attach the shell to the back of the dress or pants. Leave enough space for the child's head.
- Depending on what you chose, wear the hood or hat.
- Cut two large circles from the foam or cardboard for the eyes.
- Draw the eyes with markers or glue them onto the hood or hat.
- Add decorations such as beads, ribbons, pearls, etc. to give extra shine to the costume.
Cost:
- Approximately: 5 - 15 €
-
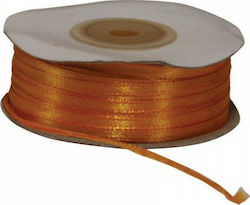
Ribbon Satin In Orange Colour Κορδέλα Σατέν Διπλής Όψης με Ούγια Πορτοκαλί 3mmx100μ 3mm 100m 1pcs
from 1,35 € -

The Littlies Craft Sequins Κινούμενα Μάτια Χειροτεχνίας 10mm 45τμχ Black 45pcs
from 0,65 € -
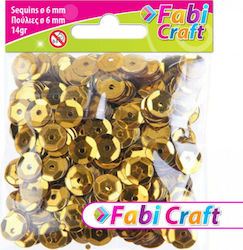
Fabi Πούλιες Στρογγυλές Χρυσές 6mm 14gr Gold 14gr
from 0,85 € -

Next 0998 Brown
from 0,78 € -
Insulation Packing INSULATED POLYSTERIN EPS 80 ETICS I 1000mm*500mm*30mm
3,00 € -
Scissors 13cm with Metallic Blade Black
0,50 € -
Typotrust S64 Hand Stapler with Staple Ability 8 Sheets 190860
from 4,69 € -

Iliadis Ribbon In Brown Colour Σινάμαι Καφέ 10εκ.x9.5μ. 100mm 1pcs
from 3,00 €


#4: The Mummies Have Come Back to Life!
In the ancient Egyptian city, the mummies have come back to life! With their terrifying appearance, they instill fear in those around them!

You will need:
- White or beige jumpsuit or dress: This will be the main clothing of the mummy.
- Gauze or fabric: Use gauze or fabric to cover the body and create the appearance of the mummy.
- Brown or black makeup: It will be used to give a worn and scary character to the mummy.
- Good glue: To keep the mummification gauze or fabric on the body.
- Contact lenses: If you want to add an additional scary factor, you can add contact lenses that give a dark look to the eyes.
In practice:
- Put on the white or beige dress or jumpsuit on the child.
- Cut large pieces of gauze or fabric and wrap the child from head to toe, leaving small gaps for the eyes and mouth.
- Paint around the eyes with black color.
- Use brown or black makeup to give a worn and scary character to the child. You can also paint a few "broken" lines over the gauze for more details.
Cost:
- Approximately: 0 - 10 €
Halloween: Cutest Kids Mummy Costume
-
Alfashield Non-Sterile Gauze Pads 10x10cm 4ply Non Woven 100pcs
from 1,35 € -
Hansaplast Universal Different Shapes Waterproof Plasters 40pcs
from 2,50 € -
Plastic Carnival Accessory Horror
from 1,20 € -

Carnival Accessory
3,30 € -
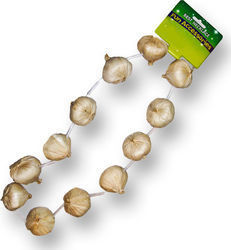
Κολιέ με Σκόρδα Carnival Necklace
4,70 € -
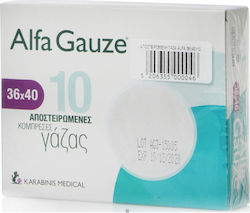
Alfashield Sterile Gauze Pads 36x40cm Sterile 10pcs
from 1,11 € -
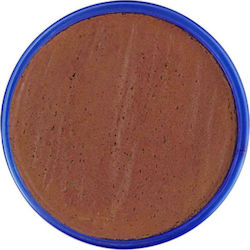
Carnival Face Painting Χρώμα Ανοιχτό 18ml Brown
from 5,90 € -
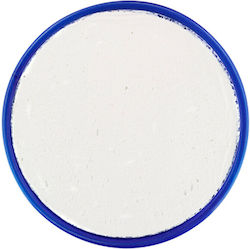
Carnival Face Painting Χρώμα 18ml Λευκό
from 5,90 € -
Beige Carnival Accessory Horror
from 9,95 €


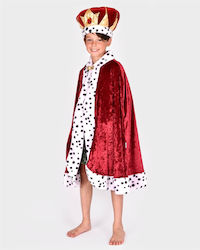
#5: Listen up, listen up!! The King is coming!
In tradition and history, the king represents power, authority, and respect.
If you choose the king, you take on the role of a leader, an upright and imposing figure who governs his kingdom with wisdom and self-confidence.

You will need:
- Cardboard to cut in the shape of a crown
- Gold or silver cardboard or aluminum foil for decoration.
- Glue to stick the pieces together.
- Crystals, pearls, or other decorations to add details.
- Pencil and scissors for designing and cutting.
- Flowers or feathers to add to the crown, if desired.
- Fabric or clothes in colors like blue, orange, or red for the main part of the costume.
- Fabric in white, cream, or red color for the cape.
- White or gold tassel for the cape's finishing.
- Belt made of gold material to surround the king's waist.
In practice:
- Draw the size of the head on the cardboard.
- Use the scissors to cut the shape from the cardboard.
- If desired, you can add details to the crown, using a pencil to draw patterns or adding elements like crystals or pearls.
- Once you finish the design, use the glue to connect the edges of the crown.
- Let the crown dry well and then you can decorate it with materials of your choice, such as paints.
Cost:
- Approximately: 10 - 25 €
-
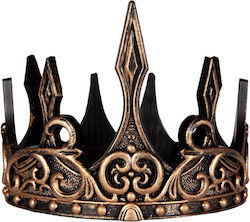
Gold Carnival Crown
from 12,95 € -
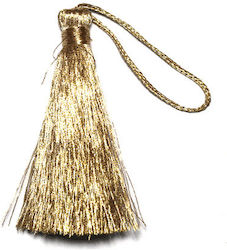
Decorative Tassel for DIY Crafts Gold
1,80 € -

Fabi Ribbon Satin In Gold Colour Κορδέλα Χρυσή Lurex 15mmx10m 15mm 10m 1pcs
from 1,80 € -
XMASfest Multicolour Glitter Gold Dust 10gr Set 6pcs
from 1,91 € -
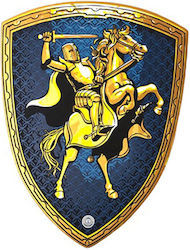
Carnival Shield
11,63 € -
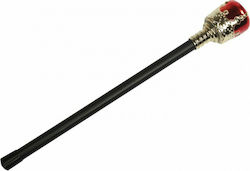
Carnival Wand
2,50 € -

Faitakis Pack Decorative Tassel for DIY Crafts Gold
0,20 € -
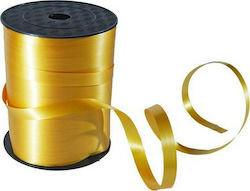
Wooden Ribbon In Gold Colour Ξυλοκορδέλα σε Ρολό 1cmx228m Χρυσή 10mm 2.28m 1pcs
from 2,25 € -

Canson Canson Cardboard Colorline Double Sided Brown 32 Leather 220gr 50x70cm
from 0,48 € -
Knorr Prandell Foam Paper Glitter A4 Gold
0,81 € -
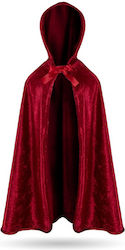
Red Carnival Cape
from 27,00 € -
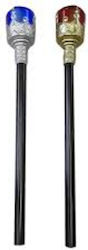
Blue Carnival Wand
4,90 € -
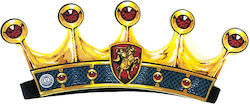
Red Carnival Crown
6,00 € -
Carnival Cape
from 39,90 €


Finally, no matter what idea you choose to be inspired by, remember to add plenty of love!!

 Technology
 Home & Garden
 Fashion
 Sports & Outdoors
 Health - Beauty
 Baby & Kid
 Auto - Moto
 Business - B2B
 Books
Books
Be the first to leave a comment!